

Installation
PR TRACKER consists of a program file and three data files. Each PC running PR TRACKER must run the program file on their local Drive C in a folder named PR_TRACKER. The data files include two that all users of PR TRACKER connect to, and one that is unique for each group being tracked. These data files all reside on a network server.
Here are the steps for installing PR_TRACKER onto a new PC.
1. create a folder C:\PR_TRACKER
2. copy into that folder the program file: PT_PRG.MDB (you can find a copy of it in the network folder described in the next step)
3. locate the network folder PR_TRACKER. In it are the two shared data files: PT_CDB.MDB and PT_CFG.MDB
4. under that network folder create a new folder for the group to be tracked. Copy into this new folder the data file PT_DATA.MDB found in the network folder PR_TRACKER\GROUP_NEW\
5. Create an icon on the Desktop for starting up PR_TRACKER. One way to do this is to right-click on the PT_PRG.MDB (on Drive C) and select COPY. Then on the Desktop right-click and select PASTE SHORTCUT. Then rename that shortcut icon to PR_TRACKER.
To also install this User's Guide, copy the folder PT_USERGUIDE from the network into the folder C:\PR_TRACKER (so it becomes a subfolder). Then create a Desktop shortcut (as in Step 5. above) for the file PT_Overview.htm (found in PT_USERGUIDE)
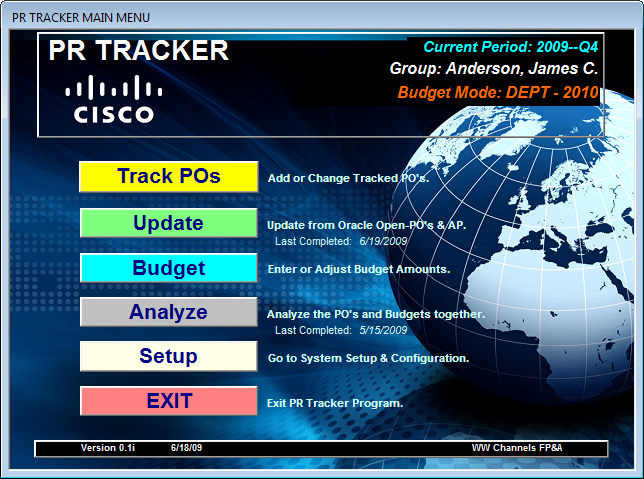
At this point you should be able to start up the PR TRACKER program and get to the Main Menu. Now you need to connect the new copy of PR_TRACKER to the correct group data file (set up in Step 4 above). Click on SETUP then on the button CHANGE DATA LOCATIONS. On that form you must specify the correct locations of the three data files (the first three rows), then click on REATTACH for each.
The last part of setting up tracking for a new group is to define that group and how it will be categorizing it's budgets. you will find details for this task under CONFIGURATION.